
Published on June 23, 2023
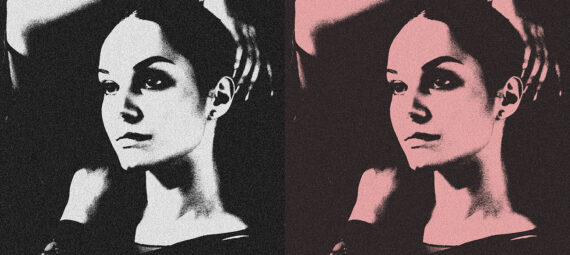
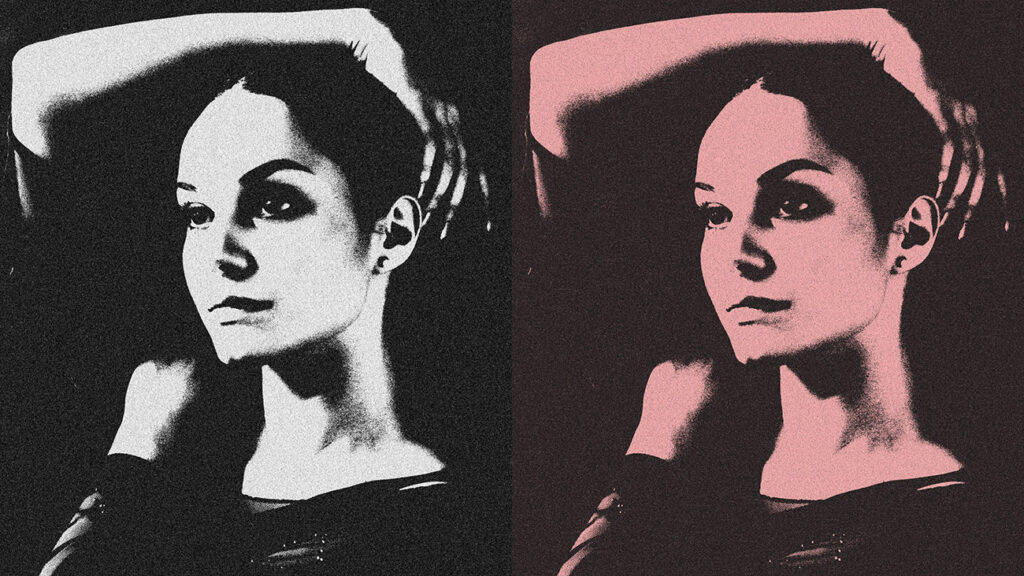
Grainy (duotone) threshold portrait
In this blog I’ll show you how to create a grainy duotone threshold portrait in Adobe Photoshop!
Rather watch the video with instructions? Click here to open the video or scroll down to the end of this page.
You can download the photo I used here.
Threshold portrait
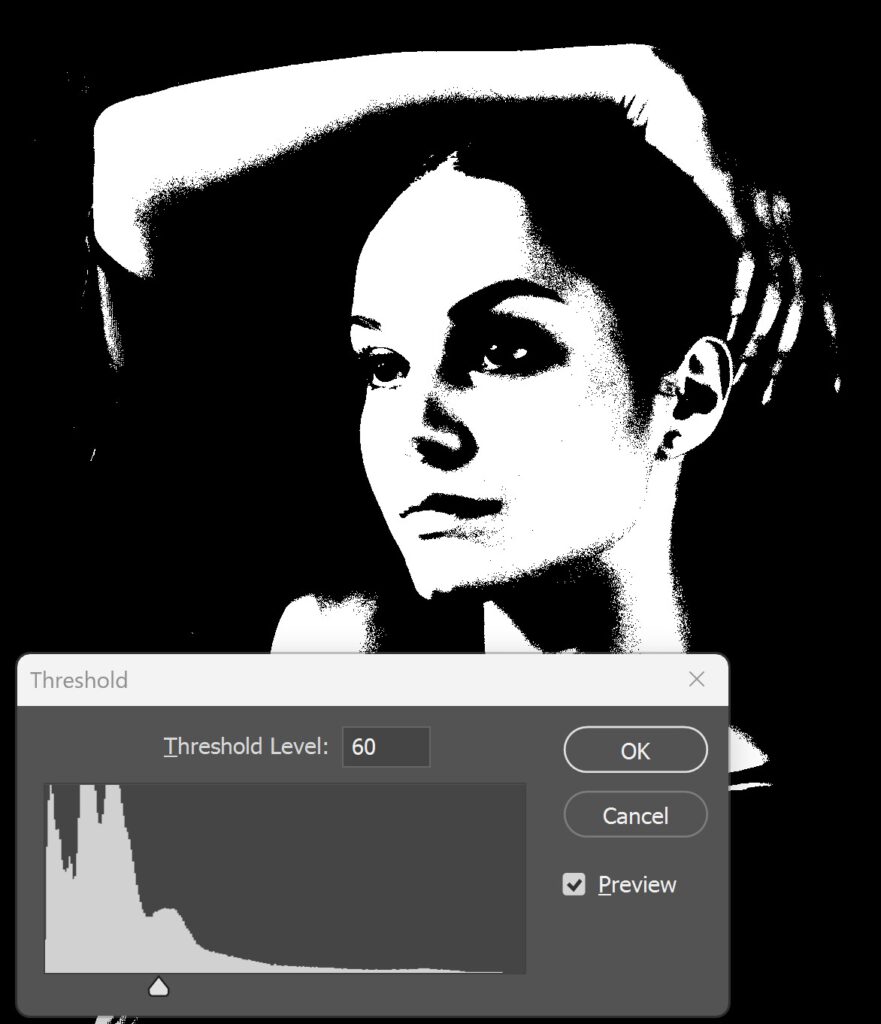
Open the photo you want to edit. Right click on the background layer and select ‘convert to smart object‘.
Then navigate to ‘Image > Adjustments > Threshold‘. Adjust the threshold level until your photo contains enough details.
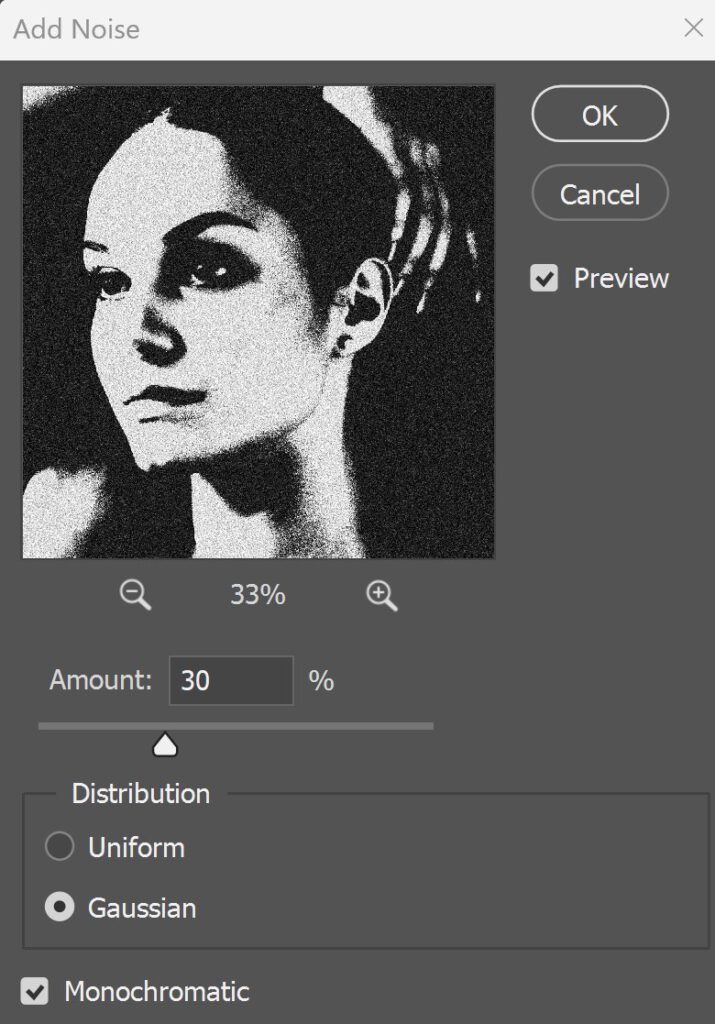
Then navigate to ‘Filter > Noise > Add noise‘. You can find the settings I used in the image below, but you can also use different settings.
If you want to keep the image black and white, you’re done now! In the next step I will also show you how to create a duotone effect.
Duotone gradient effect
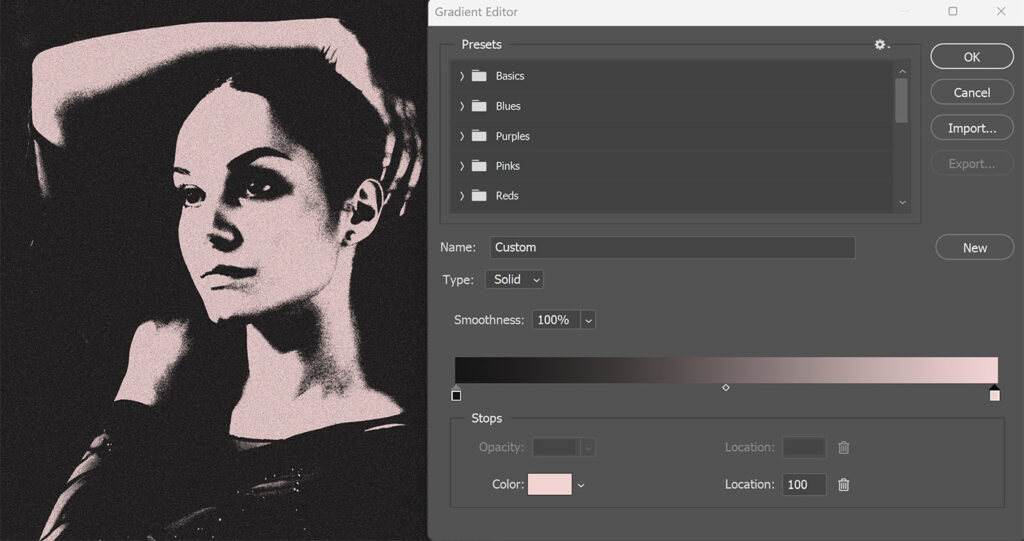
If you want to add colors to the image, you have to create a gradient map layer.
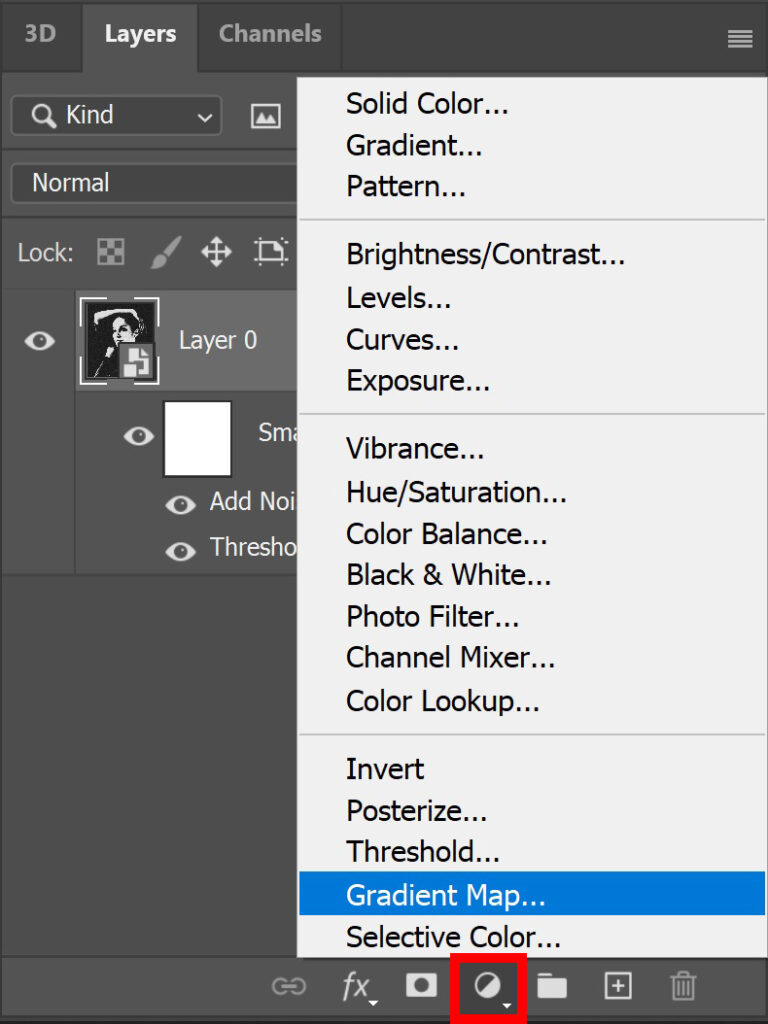
Click on the gradient to adjust the colors. Pick a gradient with 2 colors. You can use one of the presets or you can adjust the colors yourself. Double click on the color stop to do that.
Because you converted the layer to a smart object before editing it, you can still make adjustments. Double click on the threshold layer or the add noise layer if you want to adjust any of the settings.
And that’s how you make this grainy duotone threshold portrait in Adobe Photoshop!
Learn more about Photoshop
Check out my other blogs and my YouTube channel if you want to learn more about editing in Adobe Photoshop!
You can follow me on Facebook if you want to stay updated about new blogs and tutorials!
Photoshop
Basics
Photo editing
Creative editing
Camera Raw
Neural filters
Text effects